Gardening 101, Produce

Starting Seeds in Pots

Got my seeds! Ready to plant in the ground….do be do be do……what do you mean I can’t plant before the average frost? But this packet says I need to plant these 4 weeks before that. So what do you recommend I do?

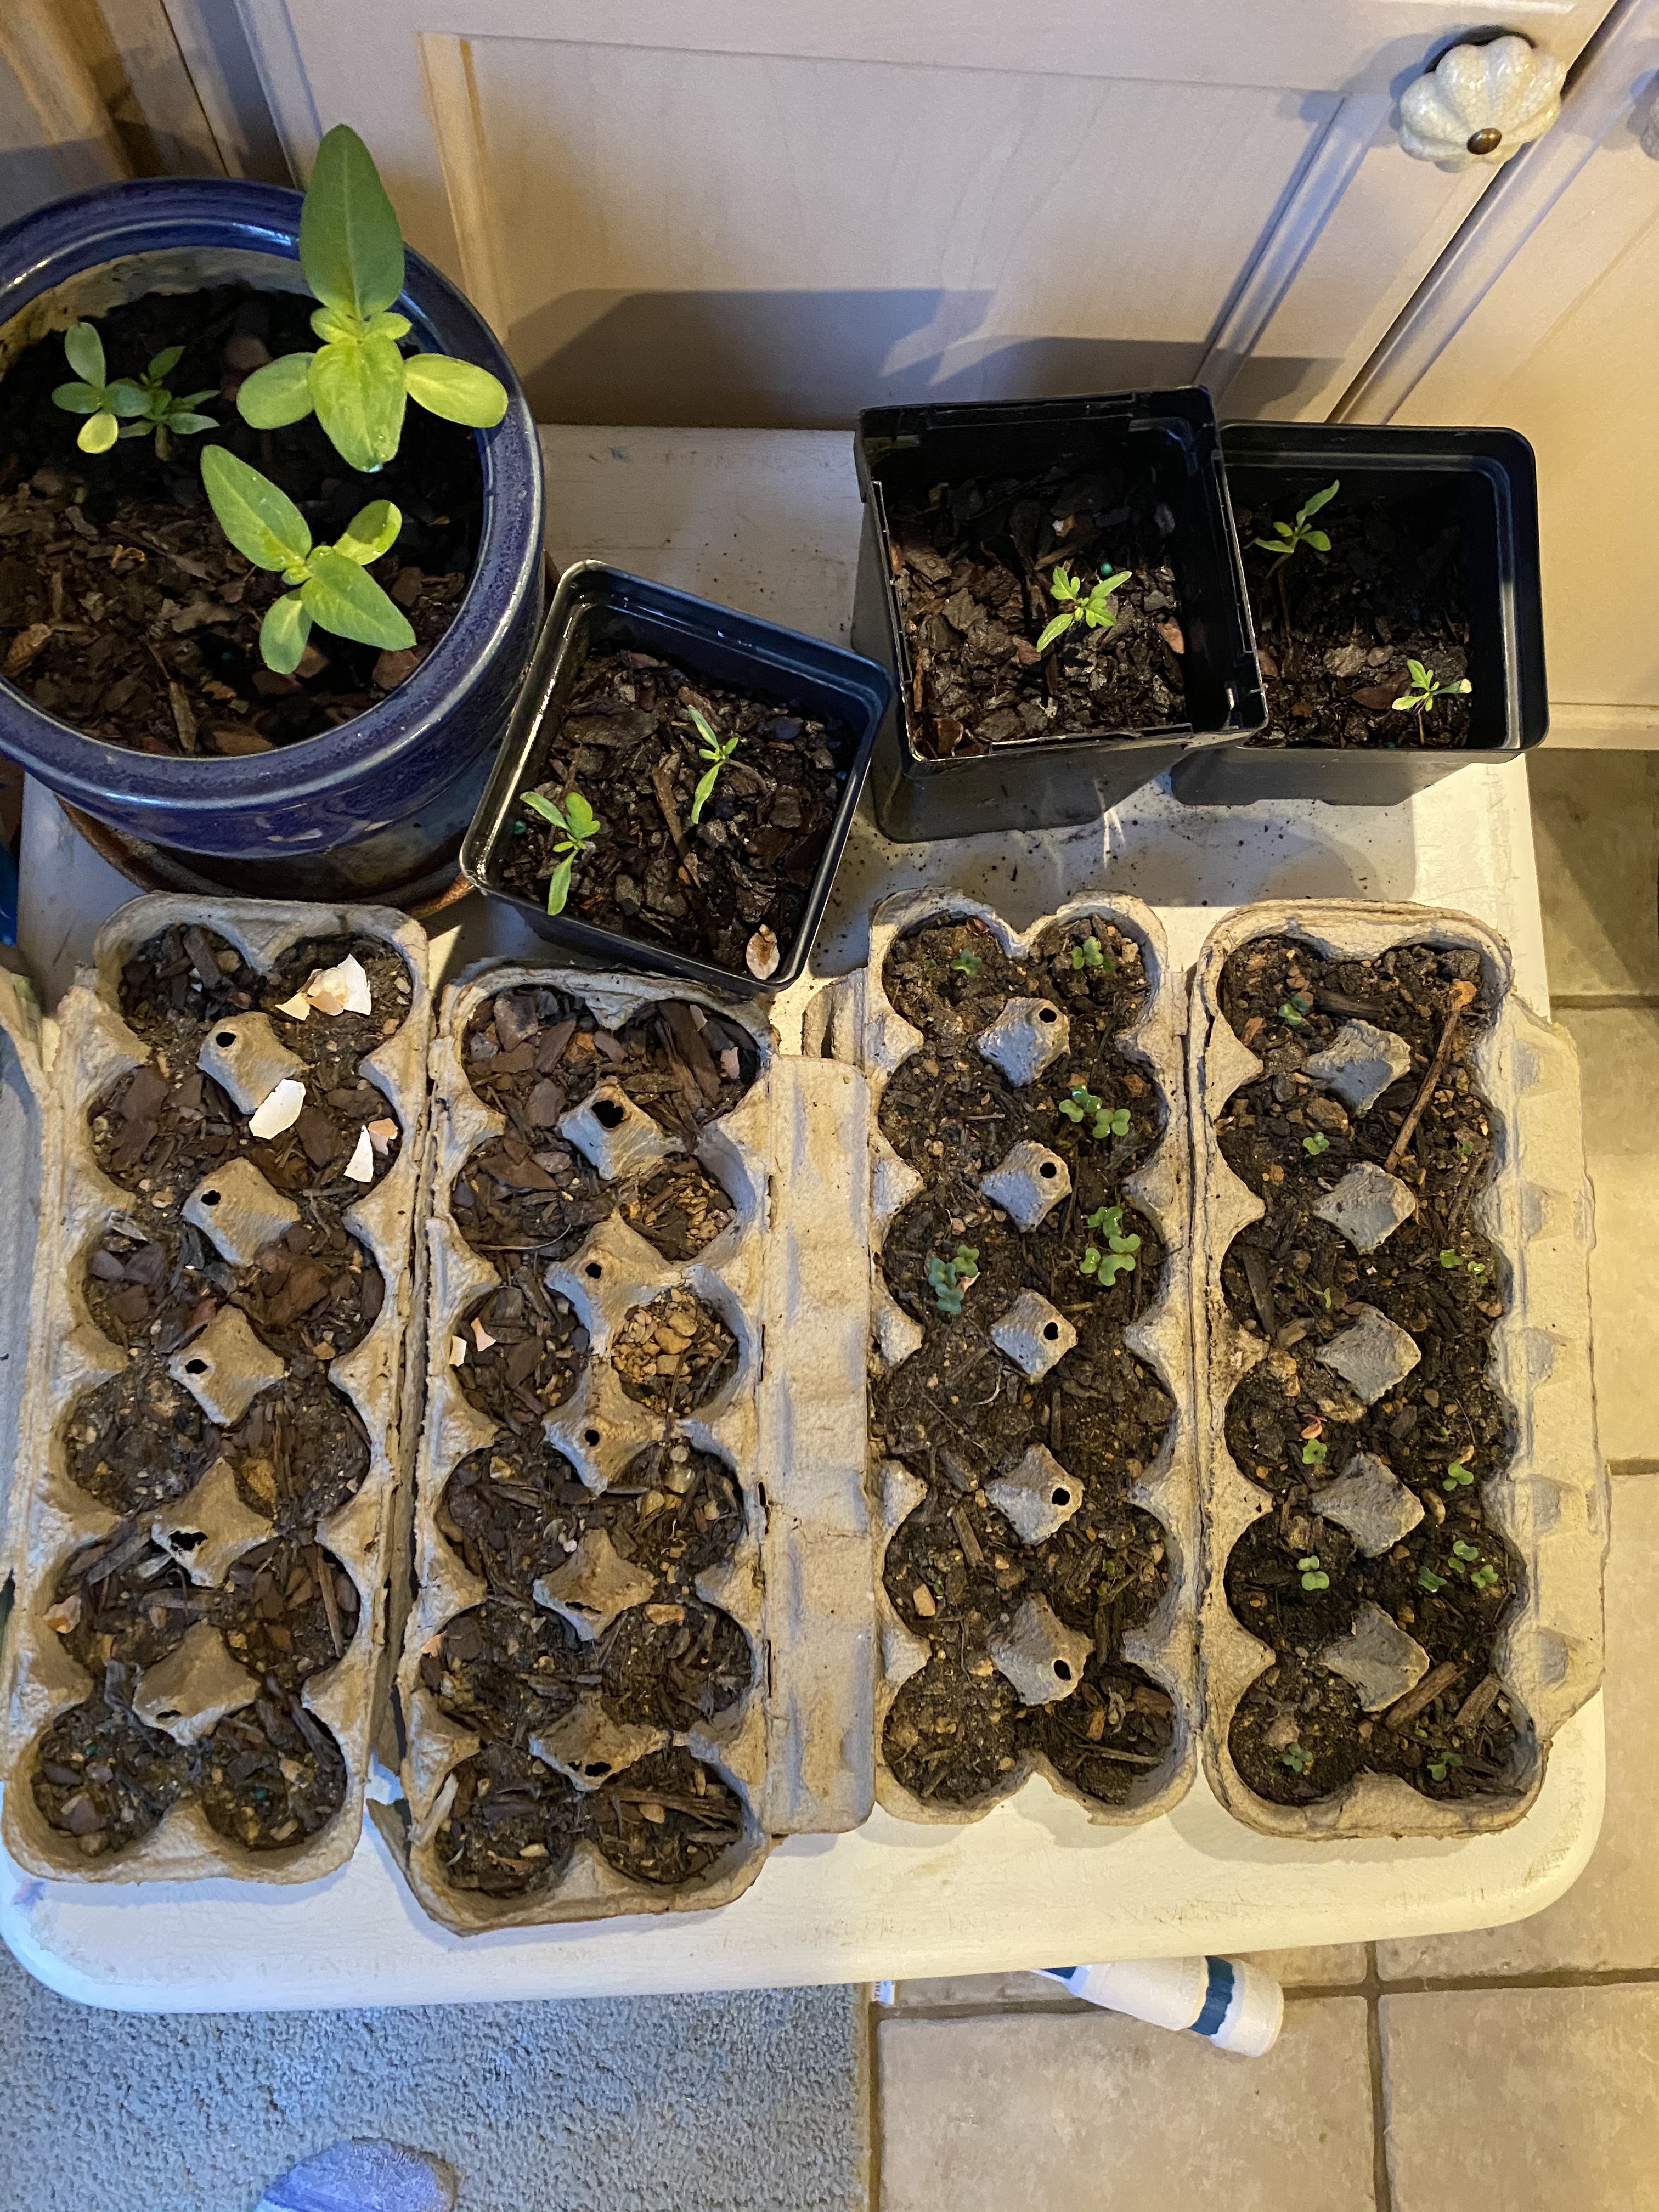
Well, let me tell you, when you go into that feed store and ask for starter pots you are going to get a ton of choices. Do you want small, medium, large, plastic, decomposable pots, domes, bag of potting soil, heat mats, and grow lights? Then you reconsider the price so you Pinterest DIY and it said you could use eggs, egg cartons, old cans, jars, baby food, heck just throw a potato in a trash can and it’s like magic.

All of this is possible. No one is really wrong, it’s more about how you do it. So here is a basic breakdown of the necessities:

  • Light- 6-8 hours for seedlings. 8-10 hours as they get bigger. This can be natural southern sun in the window or lamp/grow lights.
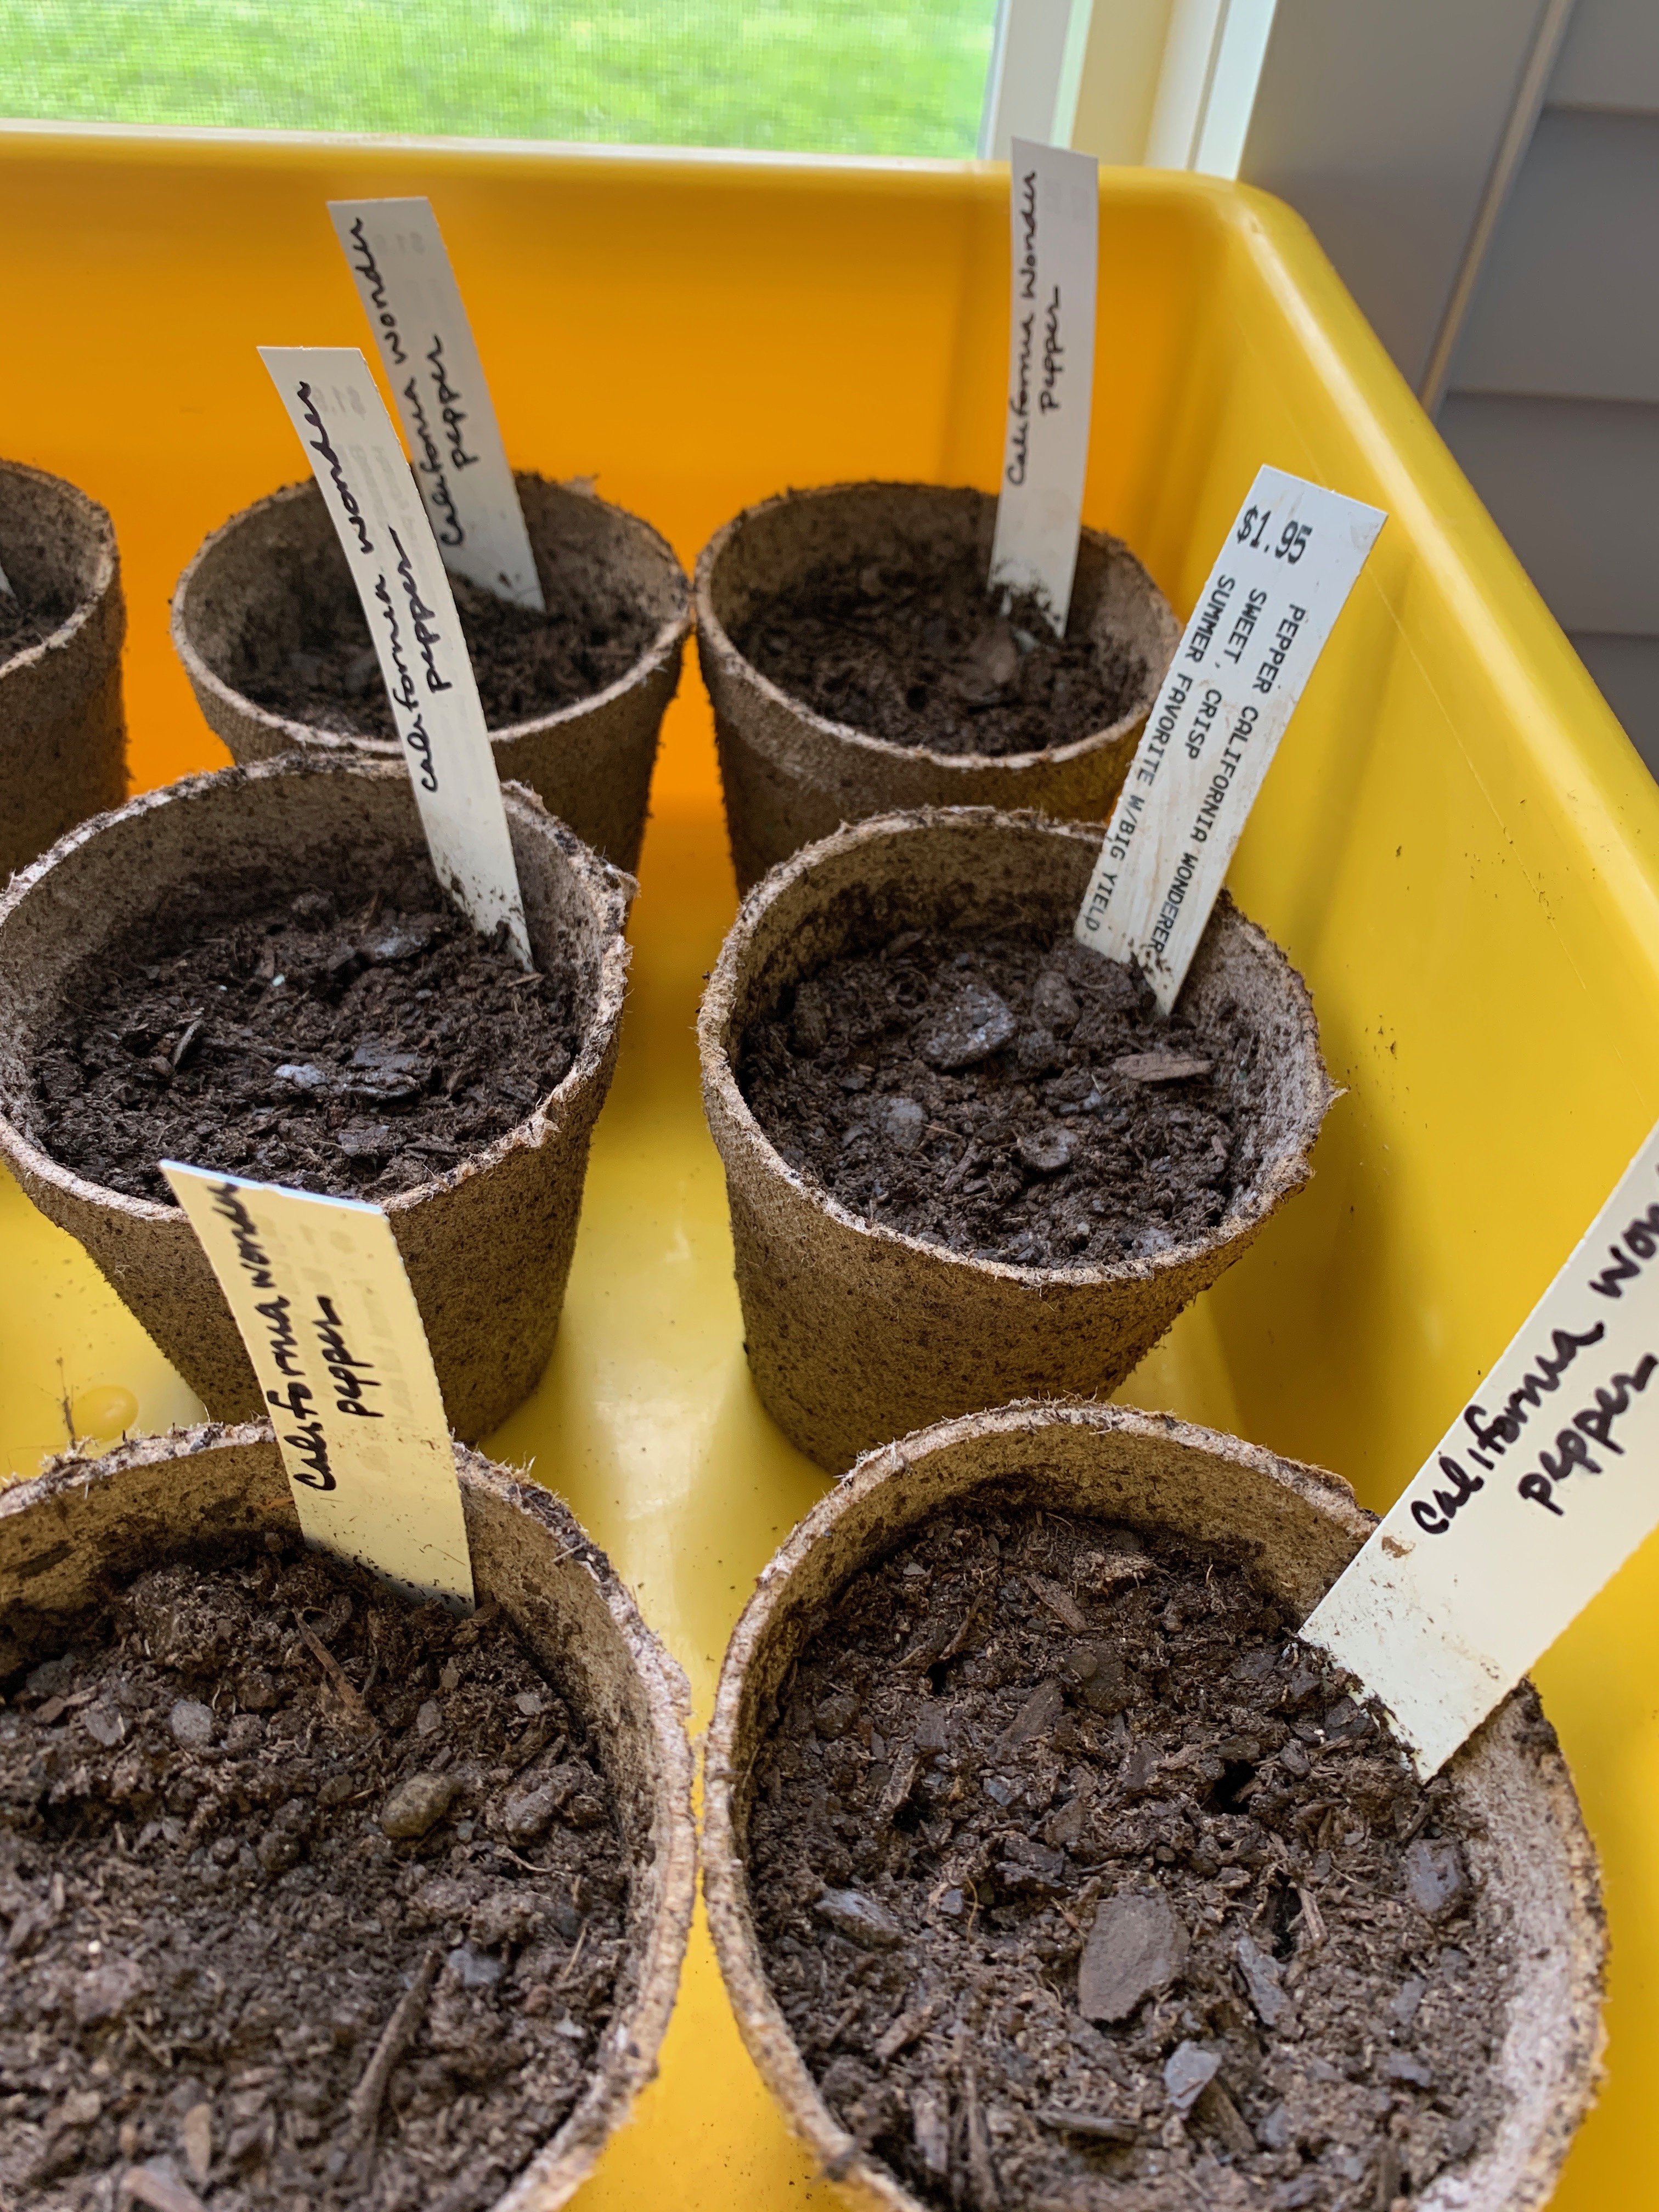
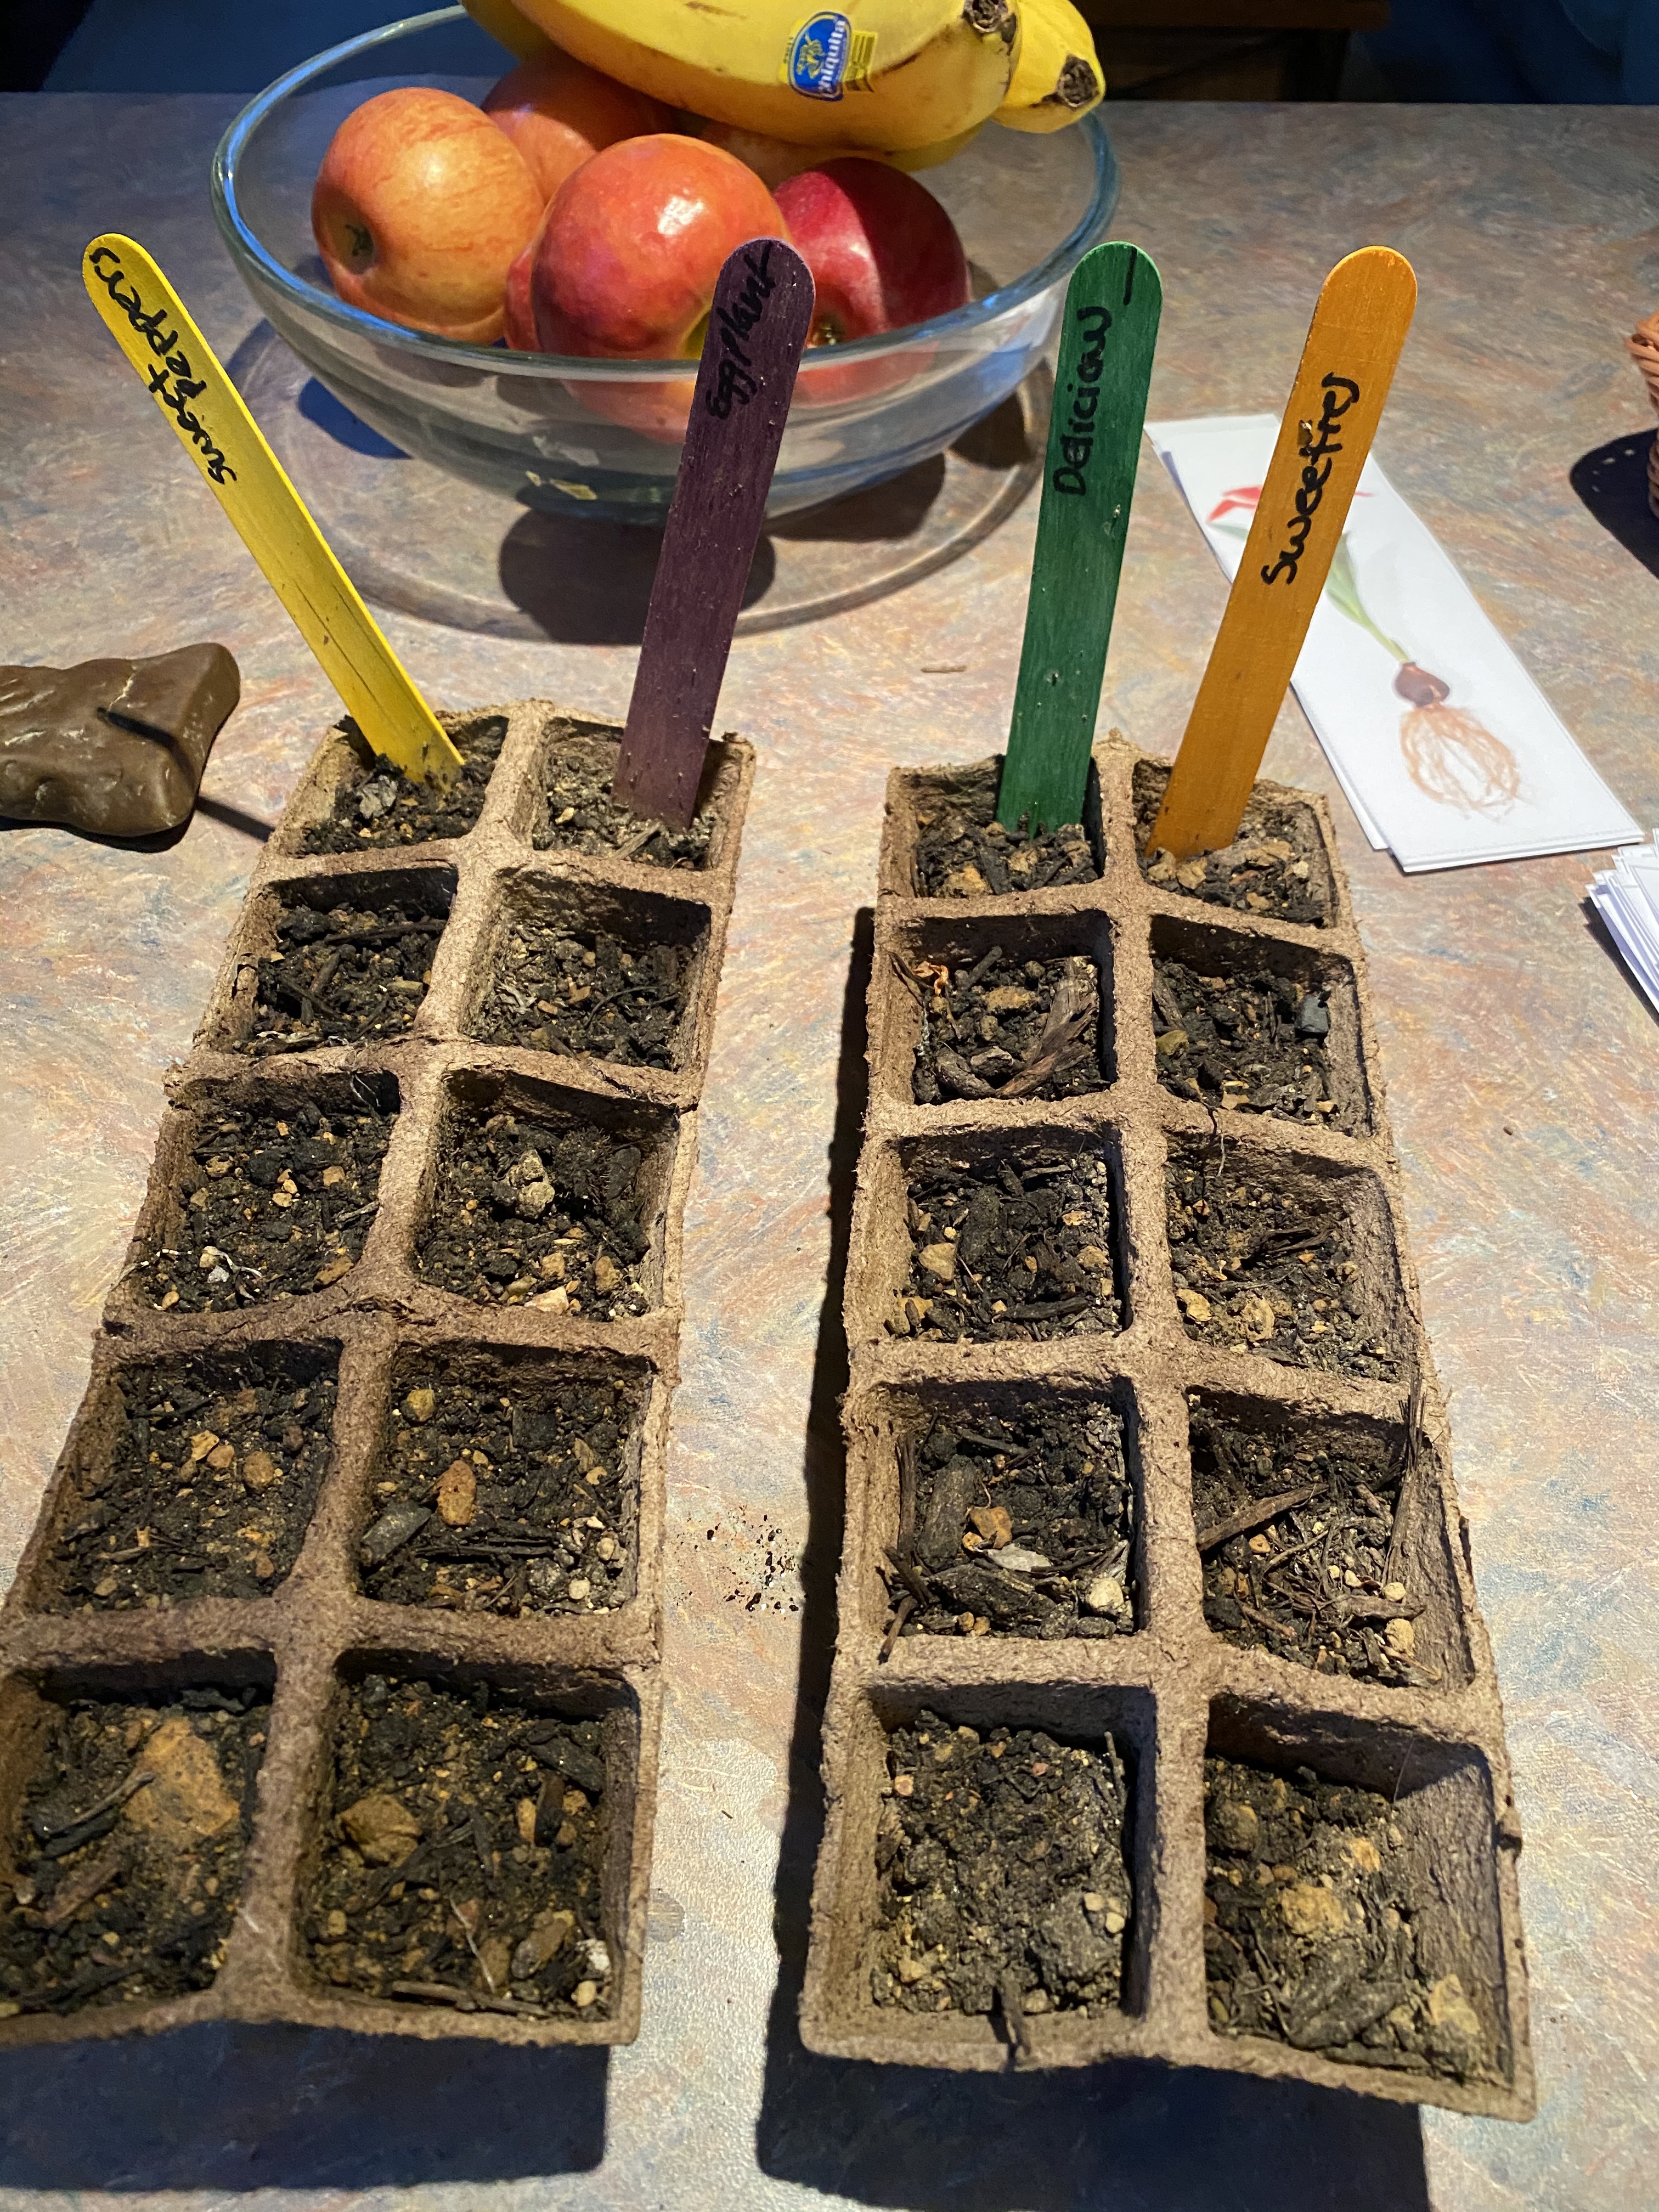
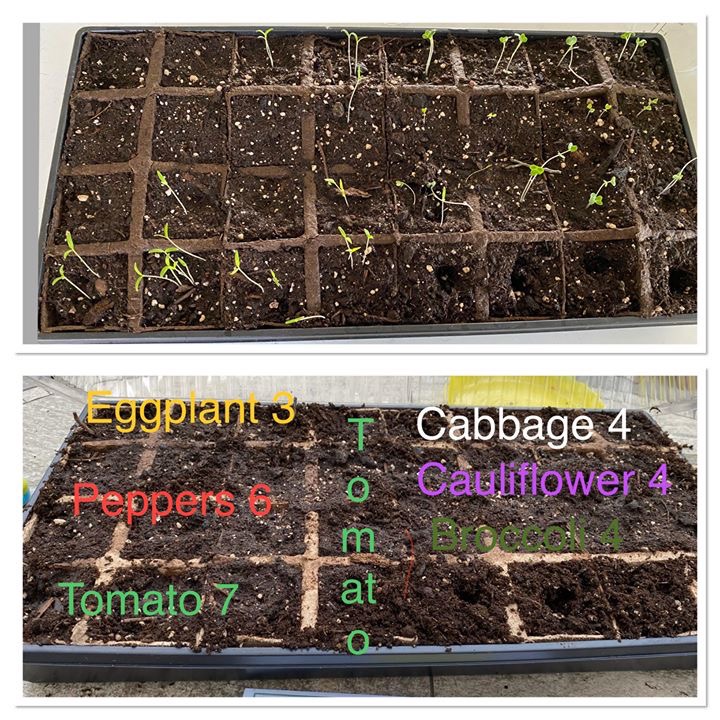
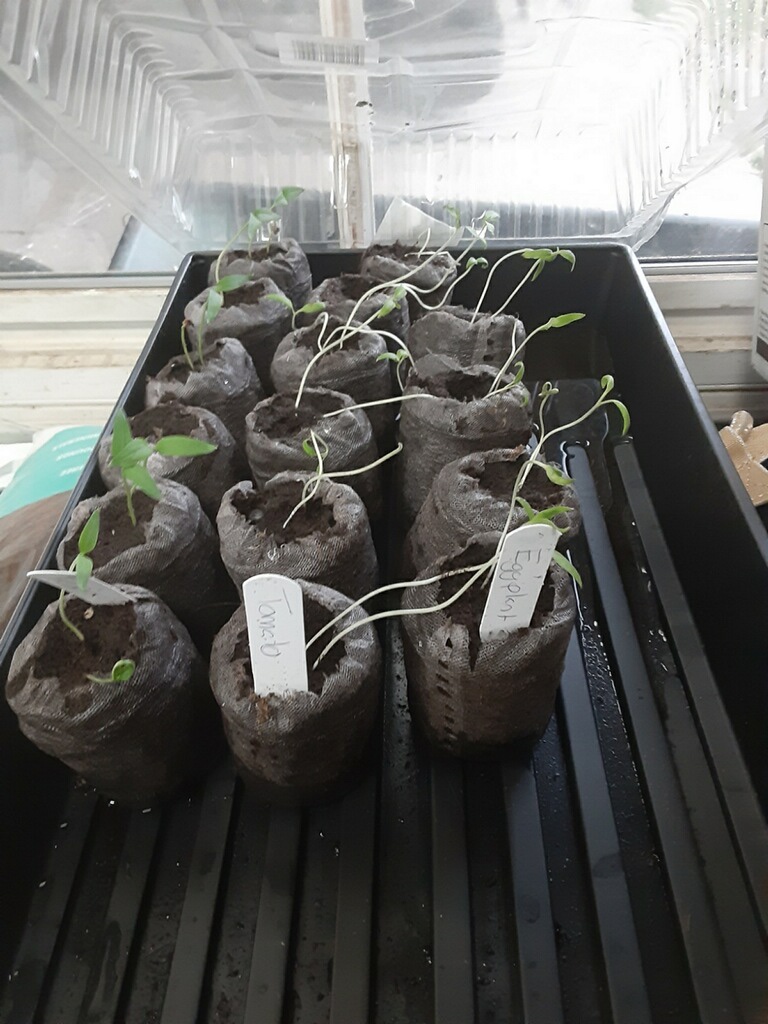
  • Container with drainage- plastic flats, decomposable pots, eggs, cartons, cans, all fine as long as there is a hole at the bottom for excess water drainage. You don’t want to drown your seeds or cause mold to grow. The size depends on how long and large the plant will be in there to grow. You can always transplant to a larger container later. NOTE: If you are growing vegetables and use eggs there could be pathogens passed so eggs should be bleached clean before use.
  • Water- your soil needs to stay moist (not soaking). A dome over a flat helps keep the moisture in so you don’t have to water as often. Using a spray bottle is best to prevent drowning the seeds. Some even water from the bottom tray and let the water soak up through the pots. If you forget a day and the pot drys completely you can lose the plant.
  • Heat- veggie seeds do not like the cold. Some people get heat pads to improve germination which do really work, but it doesn’t mean you have to get one (they are not cheap.) Keep the seeds in your home or in a heated greenhouse at an average temperature between 60-80.
  • Soil- the magic stuff. Get some potting soil as it has things in it to hold moisture to help with drying out and it’s free of weed seeds. Your dirt outside can sometimes work but unless you have done a soil test to know what nutrients it’s lacking it may not be enough. You will also be bringing in weed seeds that can compete with your babies.

There are the 5 things to focus on. From here you can Pinterest and DIY to whatever your heart desires, just be sure to achieve the above standards for success.

Produce

Turnips

 When to plant…

Turnips grow best in a temperate climate but can endure light frost. Fall crops are usually sweeter and more tender than spring crops—and pests are less of a problem.

  • Select a site that gets full Sun.
  • Soil should be well-draining and loosened to a depth of 12 to 15 inches.
  • Mix in a 2- to 4-inch layer of compost. Till soil well.
  • Start sowing as soon as the ground is workable.
  • Scatter turnip seed. Do not cover the seeds with more than ½ an inch of soil.
  • Once seedlings are 4 inches high, thin “early” types 2 to 4 inches apart and maincrop types to 6 inches apart. Do not thin if growing for greens only.

Length to Mature… 2 months

When to harvest…

  • Harvest some turnips very early as turnip greens.
  • Harvest early types after about 5 weeks; maincrop types after 6 to 10 weeks.
  • Harvest turnips at any size you wish. The small, young turnips are nice and tender.
  • Pull mature turnips before they become woody and before the first frost.

How to select and store…

In the markets look for fresh roots that are small to medium in size (around 2″ diameter), firm, round and impart delicate sweet flavor. Avoid larger as well as overmatured roots as they are woody in texture due to excess fiber content and, therefore, unappetizing.

Once at home, separate the top greens from the root as the greens rob nutrients off the roots. The roots can be stored for a few weeks at low temperatures (32°-35° F) and high relative humidity (95 percent or above). Or you can store for up to 3 or 4 months in a cool outdoor place covered with straw. Use top greens as early as possible since they lose nutrients rather quickly.

How to preserve it…

Freezing Turnips can be sealed and stored for 9-14 months depending on the freezer.

Fun Tip…

Turnips are very low-calorie root vegetables; carry just 28 calories per 100 g. Nonetheless, they are an excellent source of antioxidants, minerals, vitamins and dietary fiber.

Recommended Recipes…

Resources:

Produce, Uncategorized

Radishes

We planted radishes right in the ground inside our greenhouse this winter so they are already ready to harvest early spring! This year we planted Pearl Radishes which are white in color and have a more mild flavor. I admit I think the greenhouse got too hot right at the last minute which could have caused the woodiness to some of the larger roots.

When to plant…

Radishes are a cool weather crop and best to grow in the Spring or Fall. Plant radishes about 2-3″ apart to avoid crowding. Radishes are not a big fan of fertilizer as it makes the tops grow larger instead of focusing on the root. They also need nice moist soil. If the radishes take too long to grow due to hot weather or dry soil, they can get hard and woody.

Length to Mature… 3-4 weeks

When to harvest…

You will want to harvest them before they get too big and turn bitter as they tend to get spongy. Normally, before they are 1″ in diameter. When you pull them out of the ground, be careful not to disturb the small ones around them as you thin the crop down, that way you can continue to enjoy the radishes throughout the season as they grow.

How to select and store…

Radishes can come in a variety of colors: pink, red, purple, violet, green, black and white. Radish tops should be bright green and not at all wilted. The roots should be brightly colored and free from cracks. Squeeze them to make sure they are not hollow or soft in the center.

Radishes can last in your fridge for 1-2 weeks and are best if you cut the tops off of them before storing. The tops should be used within 2-3 days.

How to preserve it…

Radish Relish can be sealed and stored for up to 1 year.

Fun Tip…

Don’t throw the tops out! The radish leaves are delicious and nutritious.


Recommended Recipes…

Resources:

Produce

Asparagus

When to plant…

Asparagus can take years to establish, but when it does you will produce an abundant crop of spears spring after spring for the next 20-30 years. There are female and male asparagus plants and to keep your garden under control you only want to keep the male spears as baby asparagus plants compete for space and nutrients if the females come to seed.

In early spring, dig a trench about 12” deep and a foot wide. Plant asparagus crowns at 18” intervals in the bed with compost and fertilizer. Shape the compost and fertilizer in 6” mounds and set the asparagus crown on top and drape the roots down around the sides. The top of the mound should be 6” below the soil surface. Cover the roots with garden soil right up to the crown and water well. As shoots begin to appear, add more soil until the trench has been filled back up.

No weeds, no interplanting with other vegetables, and keep it well mulched and consistent soil moisture.

When to harvest…

You will want to harvest your spears when they are 5” – 7” tall before they begin to loosen, which is usually in April. Do not pull them out of the ground, but cut them or snap them just above the soil. The first year after plantings, harvest only a few spears from each plant for 2 weeks and then stop. You can then harvest 3 weeks the next year and 4-6 weeks the year after that. Pick too much, and your plants will not be able to develop the strong root system and energy reserves needed for the future.

Once the bed yields only skinny spears let them grow to their full potential to establish healthier fronds for next year’s harvest.

How to select and store…

Asparagus can be green, white or purple. Stalks should be rounded and firm, with thin stems and closed tips. The tips should be deeply colored and ends that are still moist. Store in the refrigerator with the ends wrapped in a damp paper towel or upright in a shallow bowl with an inch of water. Use within a day or two after purchasing.

How to preserve it…

Blanch and Freeze for up to 6 months or pickle them with mustard seed and seal for up to 1 year!

img13l
William Sonoma


Fun tip!

Gently bend the stalk from both ends and it will naturally break where the tough meets terrific.

Recommended Recipes…

Resources: