Gardening 101

Spring Frost- What to Do?

Uh oh! You just heard there is a late frost and you don’t know what you need to do?

Here is a list of some produce that can handle a late spring frost:

  • Radishes

    Frost Image
    Photo from The Rusted Garden Blog
  • Turnips
  • Beets
  • Carrots
  • Peas
  • Spinach
  • Collards
  • Kale
  • Lettuce
  • Brussels sprouts
  • Cabbage
  • Cauliflower
  • Broccoli
  • Onions
  • Leeks
  • Garlic
  • Kohlrabi
  • Rhubarb

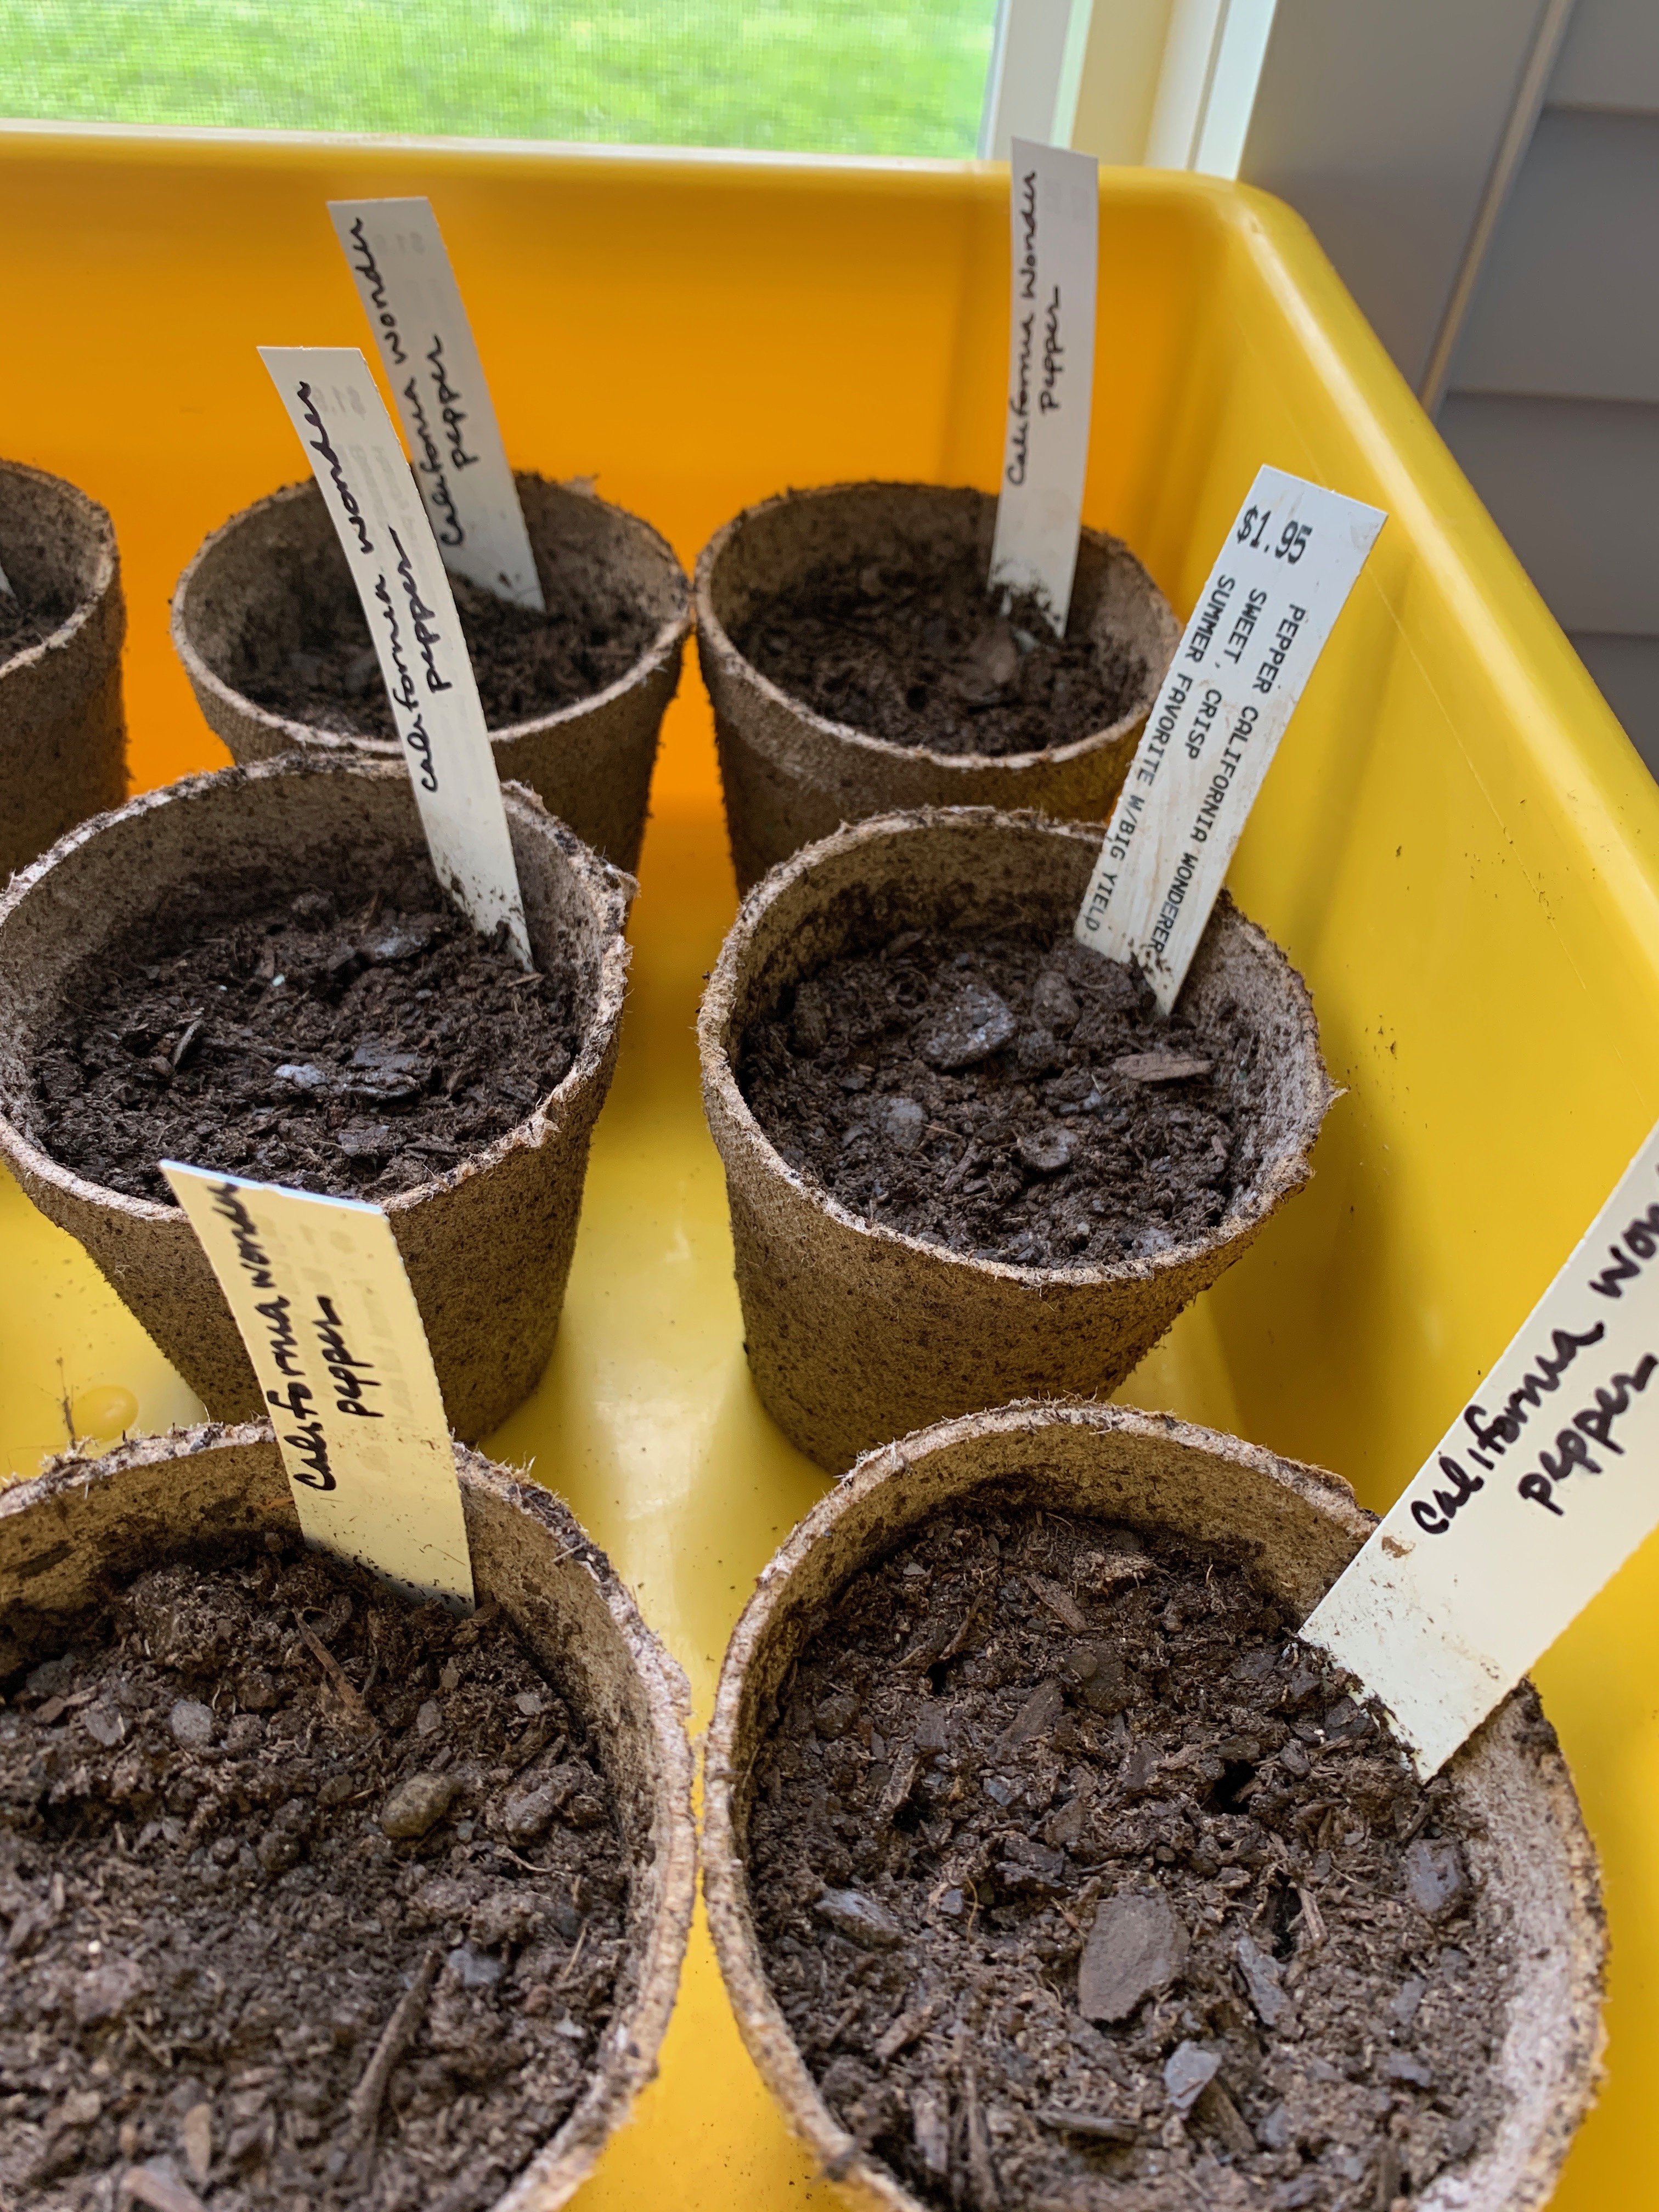
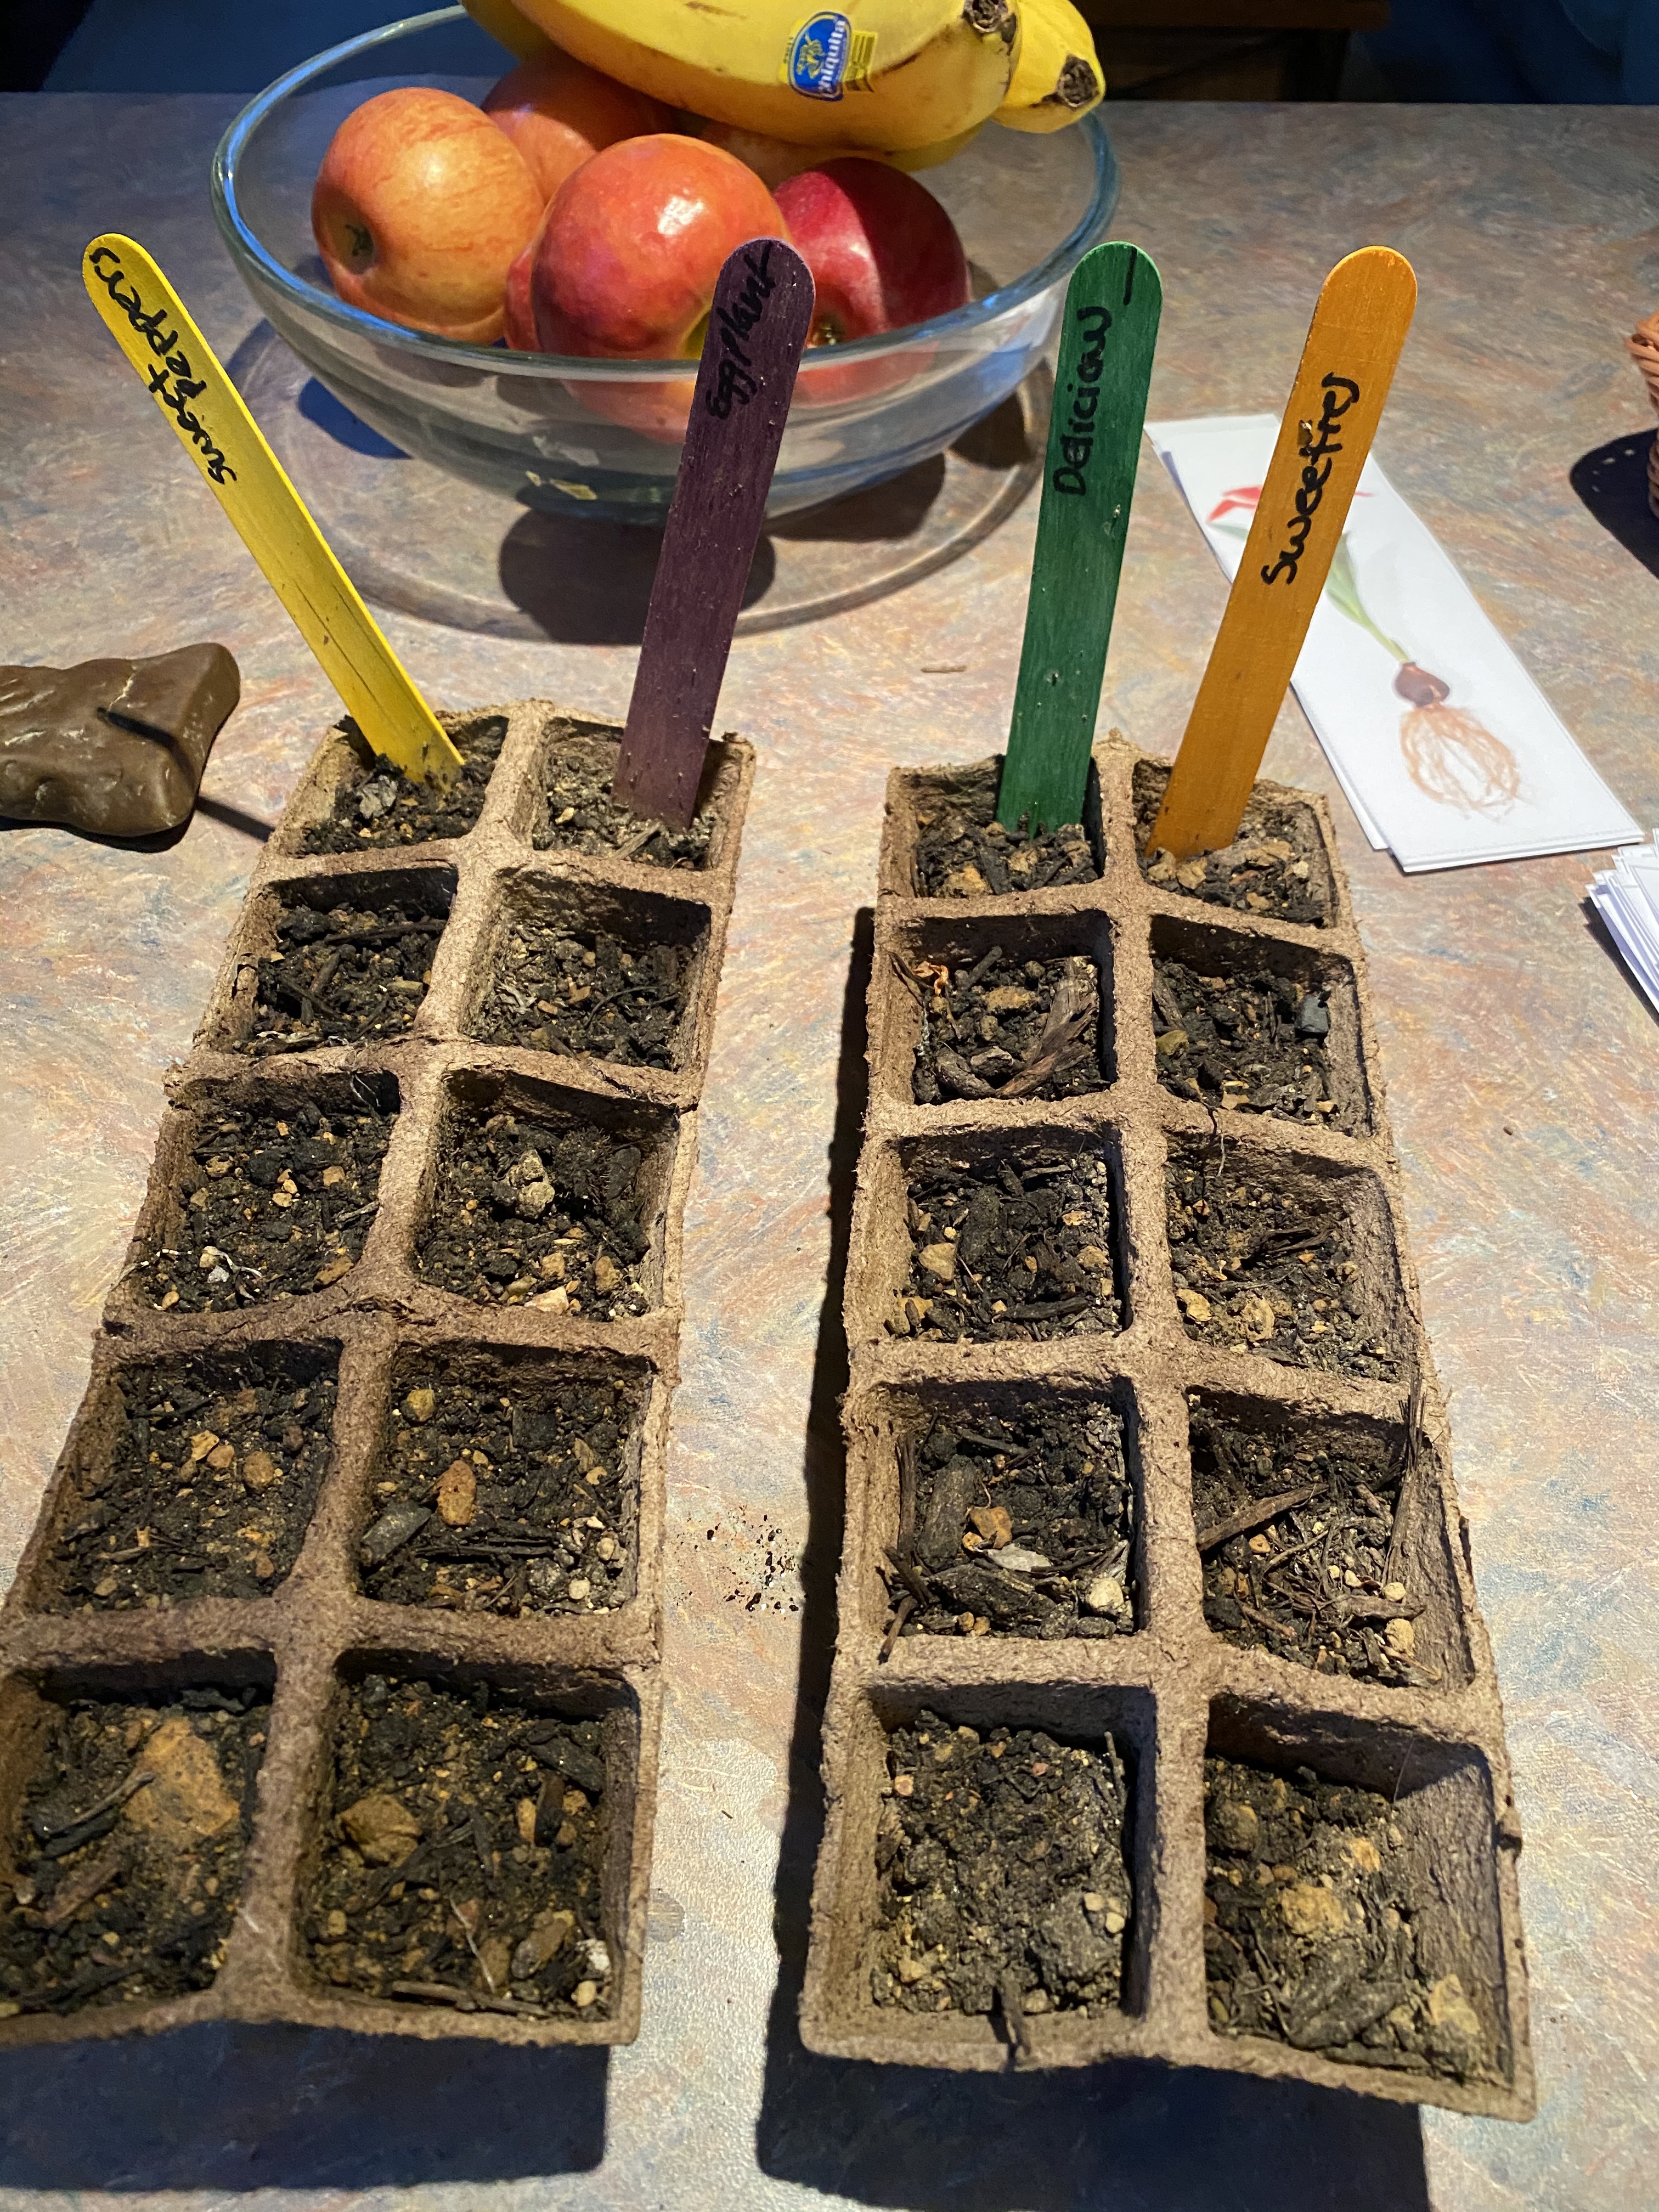
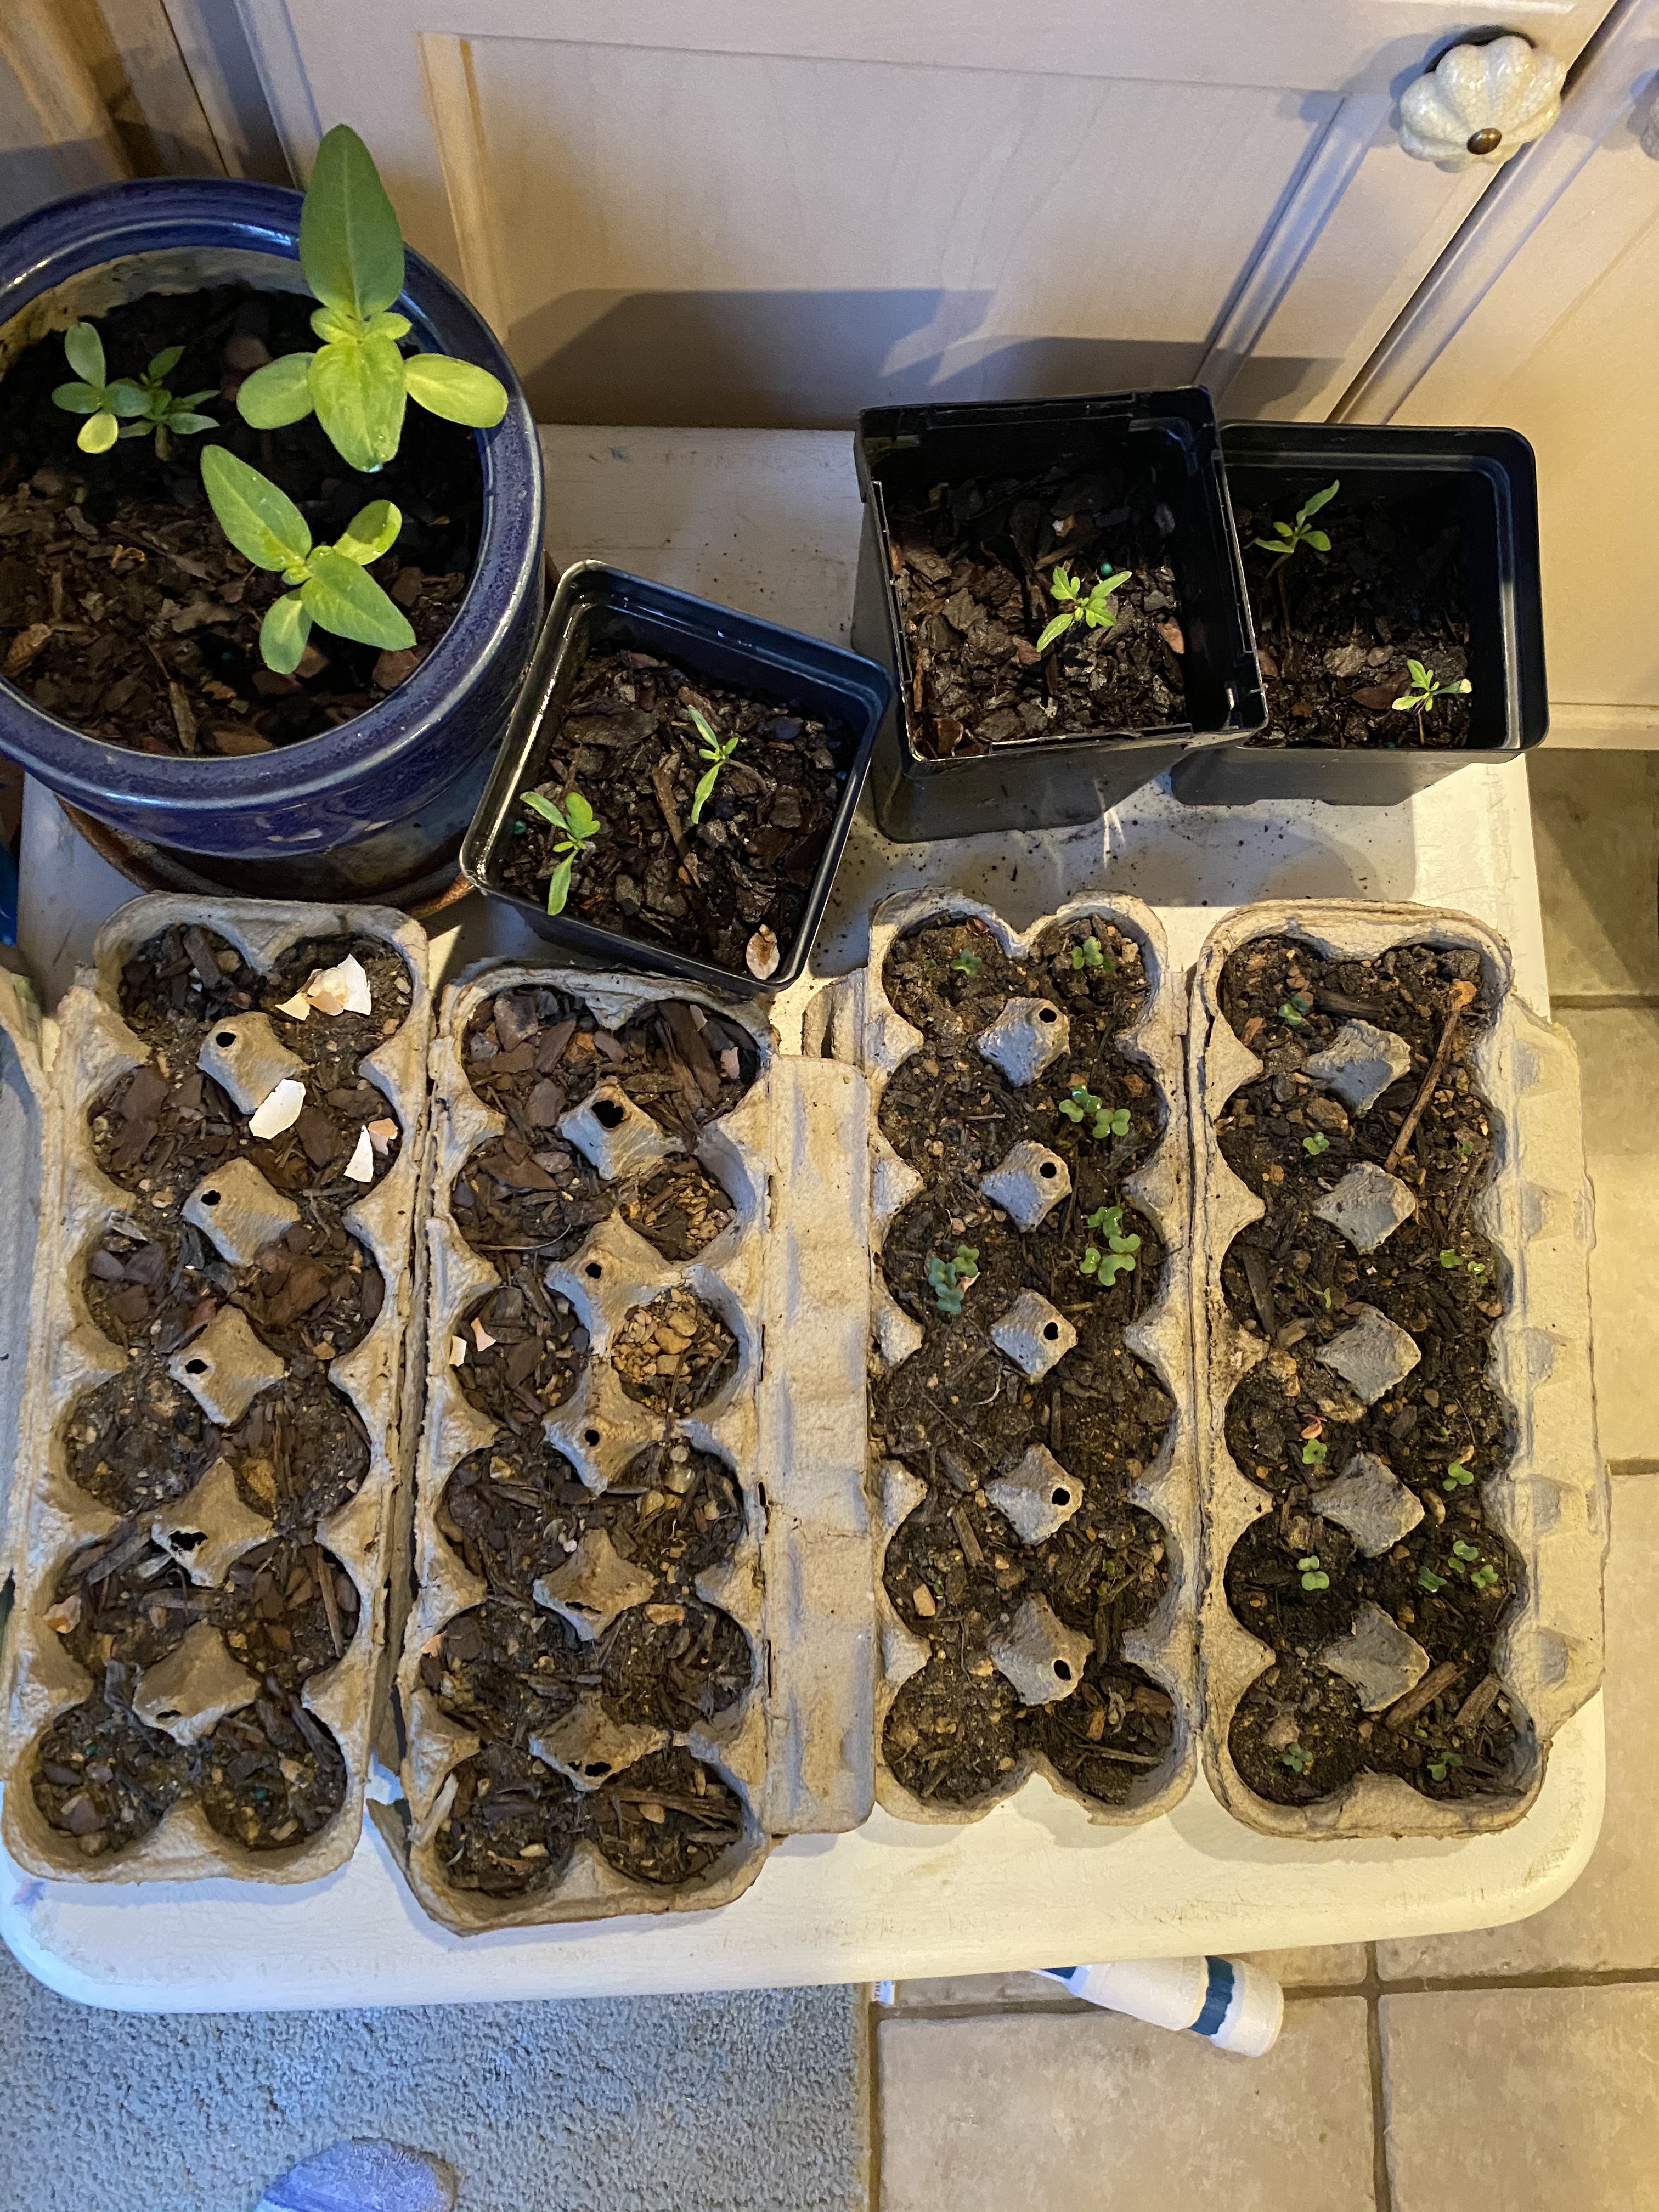
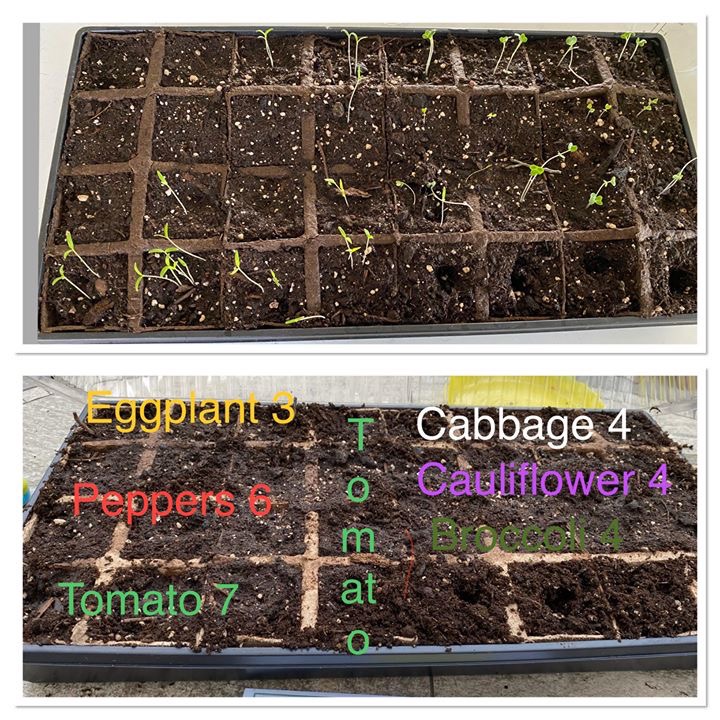
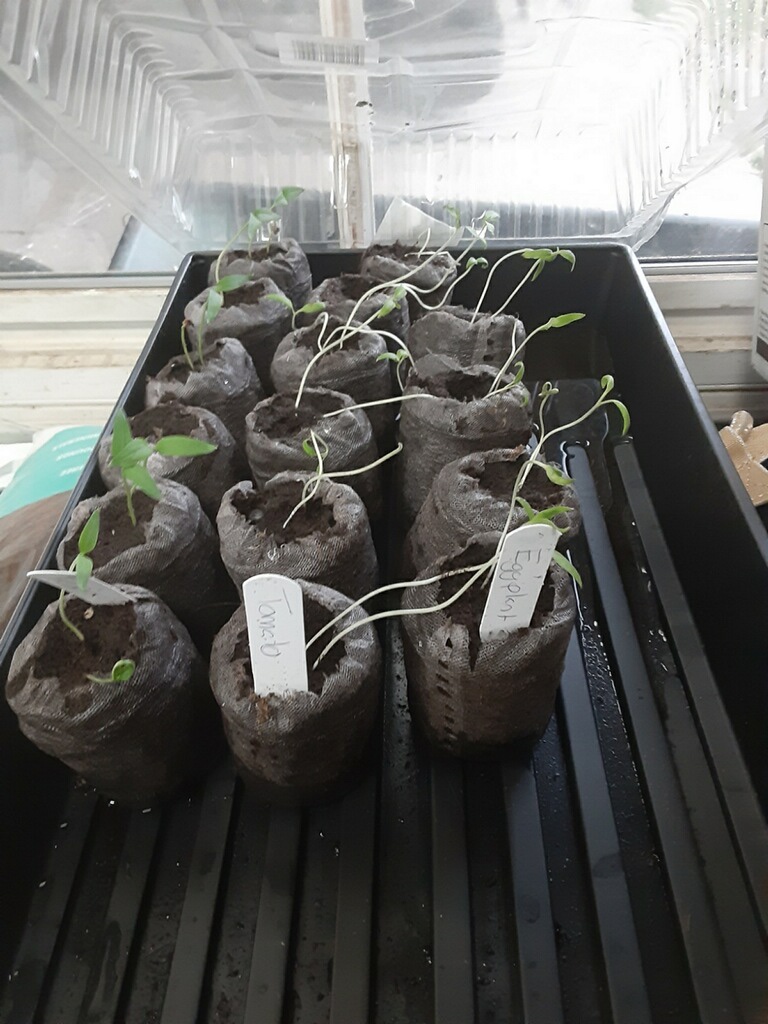
If you have already planted other vegetables or transplanted plants that can not handle a frost, like tomatoes, peppers, and eggplant, here is what you need to do!

  1. Water your plants thoroughly within a day of the anticipated frost as the moisture in the soil can actually provide additional frost protection.
  2. If you haven’t mulched yet, be sure to cover just the soil with a thick layer (2-3 inches). If your seeds haven’t sprouted yet be sure to uncover or they may not be able to push through later.
  3. Cover your sprouted plants with something light, like a sheet, but be sure not to break the plant. You could put stakes in the corners to lift the sheet up so it doesn’t touch your plants. You can then cover the edges with soil or mulch to keep it from lifting in the wind.
  4. If it’s only a couple plants, you could just cover a small plant with a cup or bucket to create a “greenhouse.”
  5. If temperatures are going to drop below 26 you may want to add a heater.

I hope everything makes it! Good Luck!

Gardening 101, Produce

Starting Seeds in Pots

Got my seeds! Ready to plant in the ground….do be do be do……what do you mean I can’t plant before the average frost? But this packet says I need to plant these 4 weeks before that. So what do you recommend I do?

Well, let me tell you, when you go into that feed store and ask for starter pots you are going to get a ton of choices. Do you want small, medium, large, plastic, decomposable pots, domes, bag of potting soil, heat mats, and grow lights? Then you reconsider the price so you Pinterest DIY and it said you could use eggs, egg cartons, old cans, jars, baby food, heck just throw a potato in a trash can and it’s like magic.

All of this is possible. No one is really wrong, it’s more about how you do it. So here is a basic breakdown of the necessities:

  • Light- 6-8 hours for seedlings. 8-10 hours as they get bigger. This can be natural southern sun in the window or lamp/grow lights.
  • Container with drainage- plastic flats, decomposable pots, eggs, cartons, cans, all fine as long as there is a hole at the bottom for excess water drainage. You don’t want to drown your seeds or cause mold to grow. The size depends on how long and large the plant will be in there to grow. You can always transplant to a larger container later. NOTE: If you are growing vegetables and use eggs there could be pathogens passed so eggs should be bleached clean before use.
  • Water- your soil needs to stay moist (not soaking). A dome over a flat helps keep the moisture in so you don’t have to water as often. Using a spray bottle is best to prevent drowning the seeds. Some even water from the bottom tray and let the water soak up through the pots. If you forget a day and the pot drys completely you can lose the plant.
  • Heat- veggie seeds do not like the cold. Some people get heat pads to improve germination which do really work, but it doesn’t mean you have to get one (they are not cheap.) Keep the seeds in your home or in a heated greenhouse at an average temperature between 60-80.
  • Soil- the magic stuff. Get some potting soil as it has things in it to hold moisture to help with drying out and it’s free of weed seeds. Your dirt outside can sometimes work but unless you have done a soil test to know what nutrients it’s lacking it may not be enough. You will also be bringing in weed seeds that can compete with your babies.

There are the 5 things to focus on. From here you can Pinterest and DIY to whatever your heart desires, just be sure to achieve the above standards for success.